








How to install your twin wire mesh fence professionally – including privacy screening
How to install your twin wire mesh fence professionally – including privacy screening
A twin wire mesh fence is more than a boundary: it offers security, structure and, with custom screening, privacy. Whether securing property boundaries or designing a garden, this article explains correct installation, the materials needed and each step. Good planning is half the job.
Installing and securing a complete design
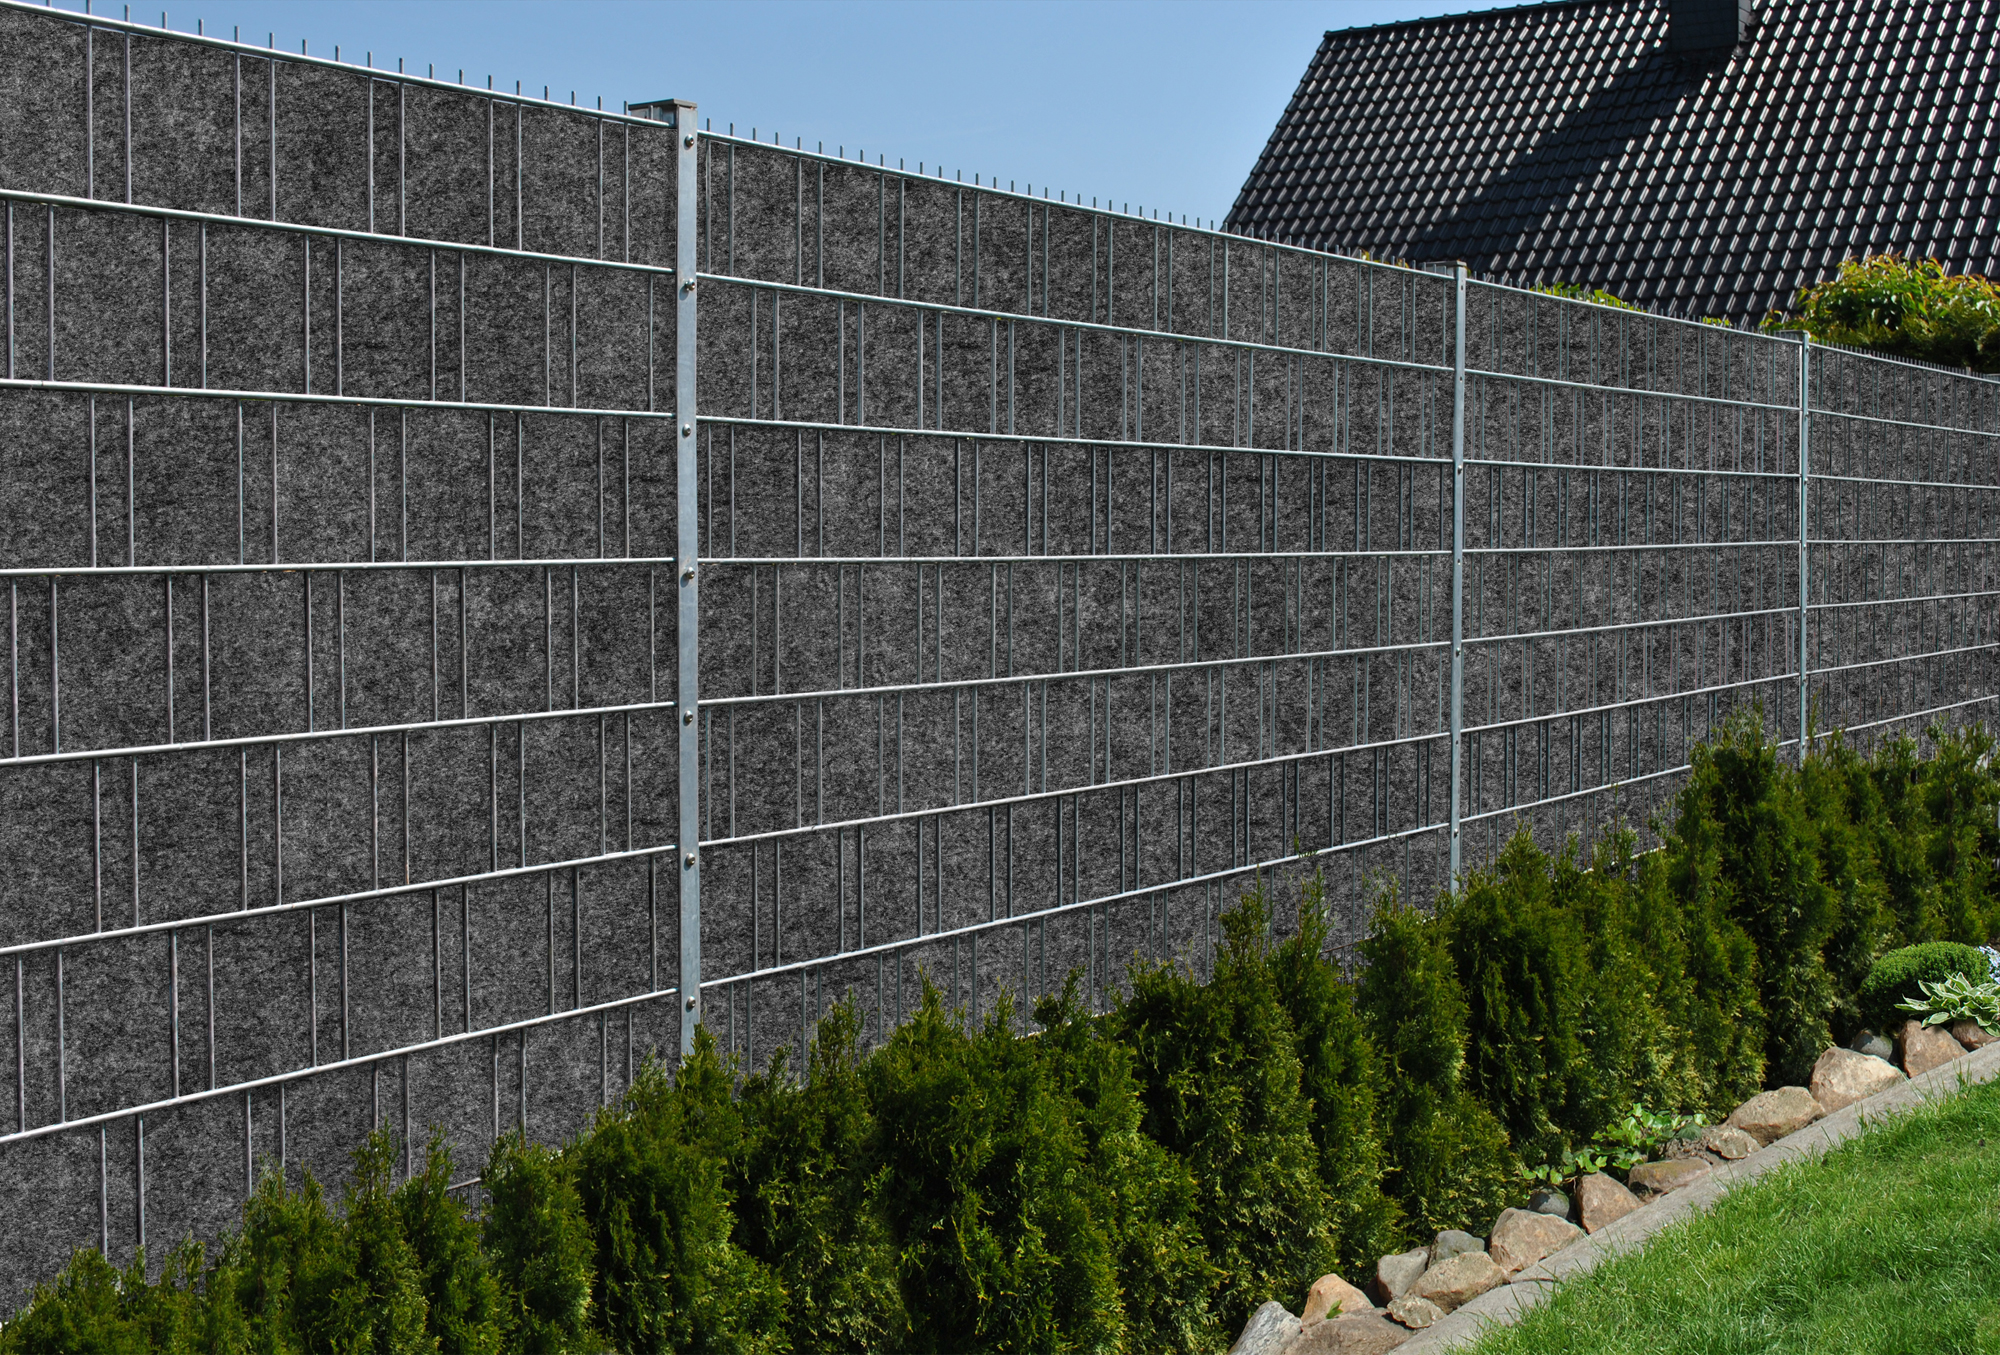
Weave the privacy screen into the mesh fence row by row, from bottom to top, pulling the strips alternately in front of and behind the bars in each row. Varying the number of bars you weave around creates additional visual effects. At the end of each row, secure the strips using clamping rails.
Can installation be done without clamping rails?
Clamping rails are generally unnecessary for posts with a cover rail or cover strip. Loosen the screws, slide the projecting strip ends behind the cover and tighten the screws again.
1. Why choose a twin wire mesh fence?
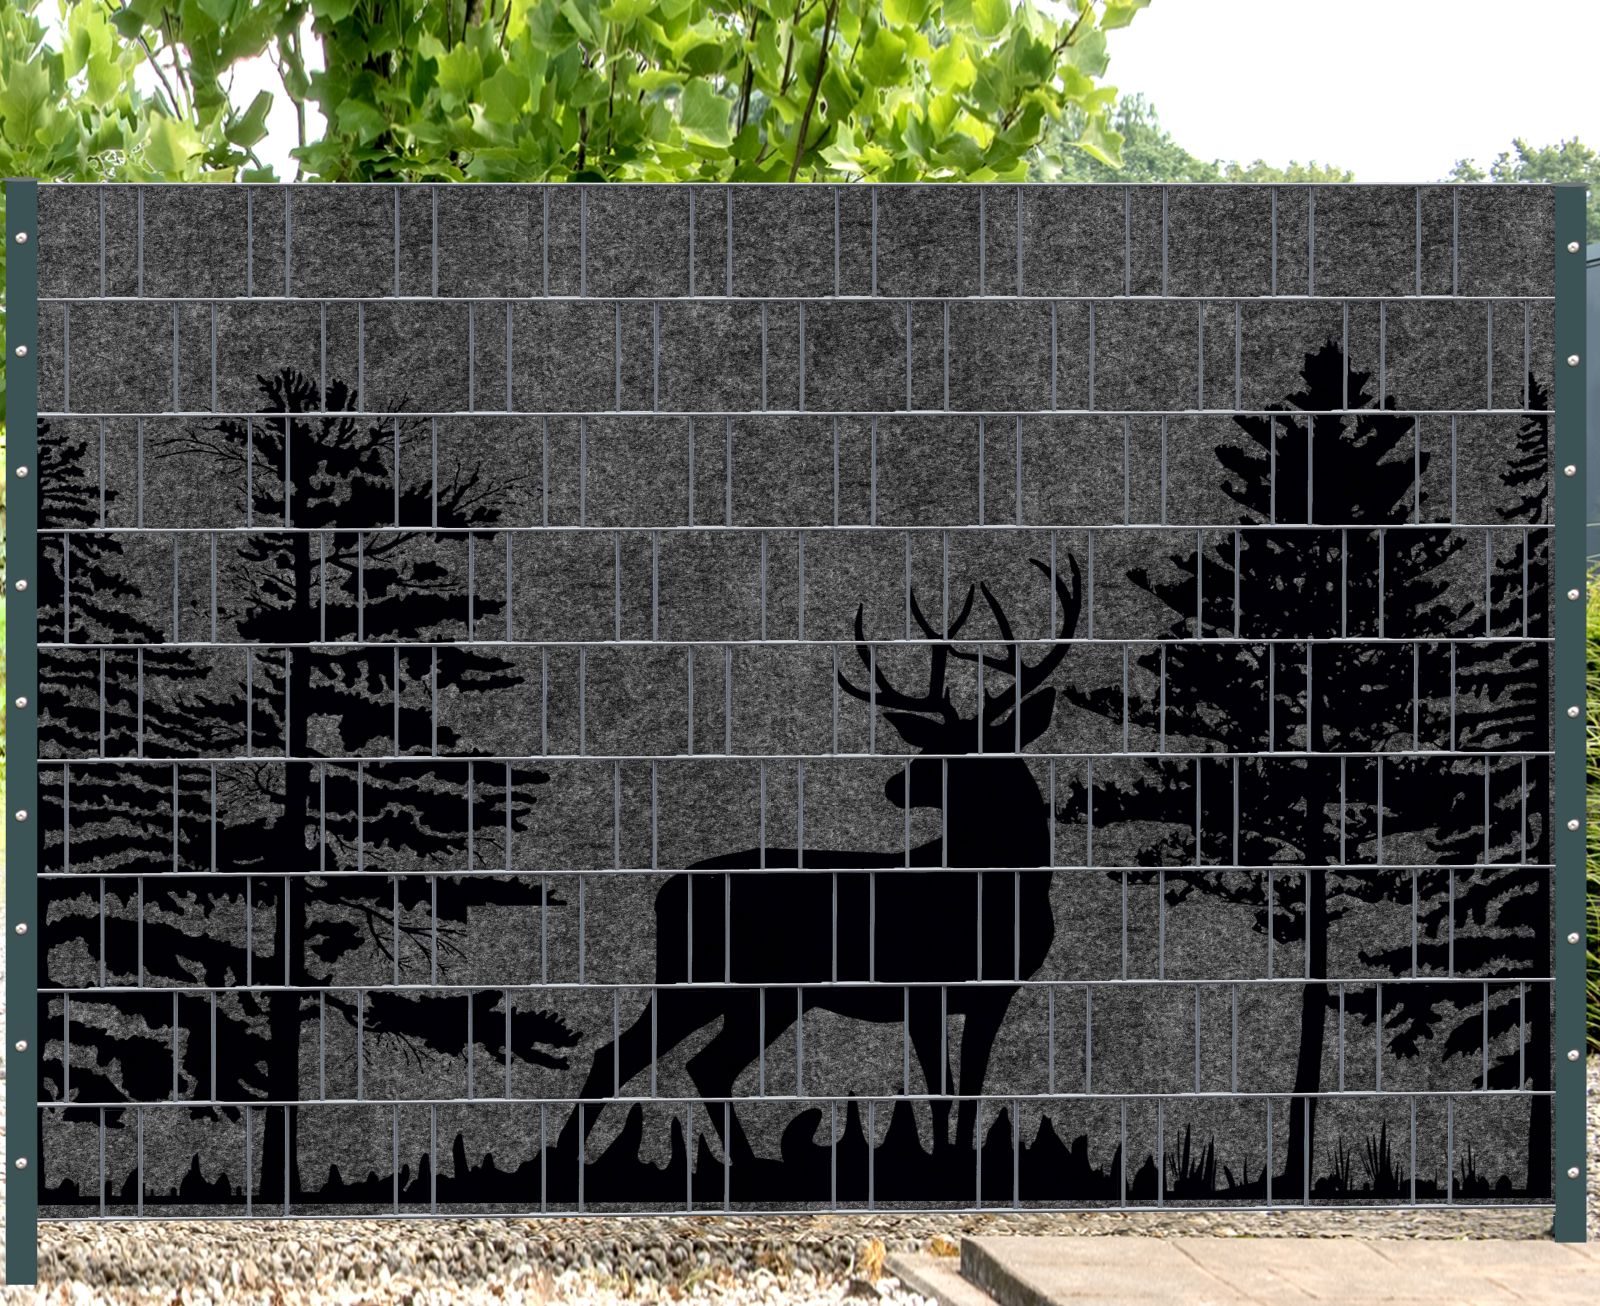
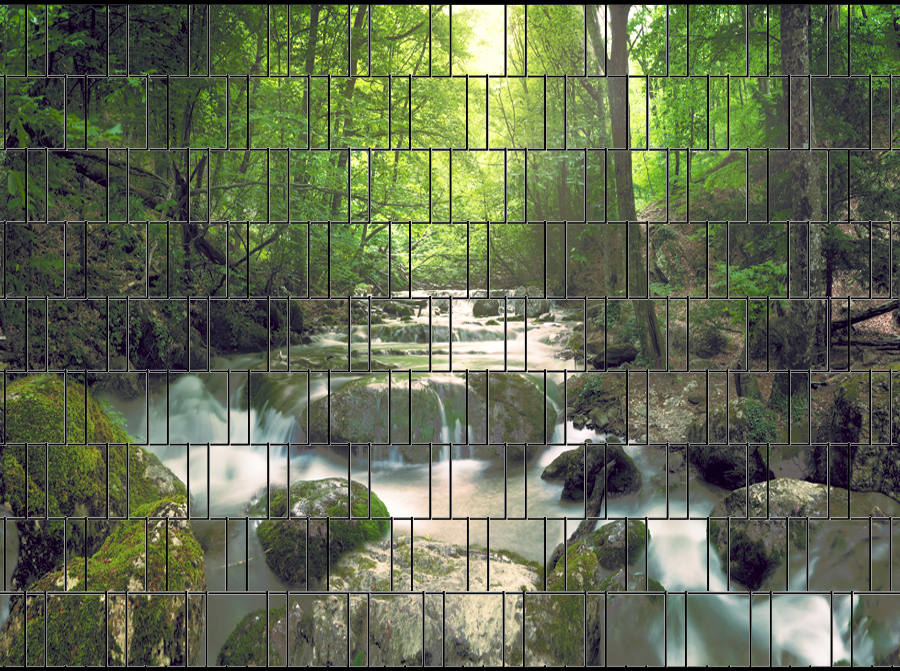
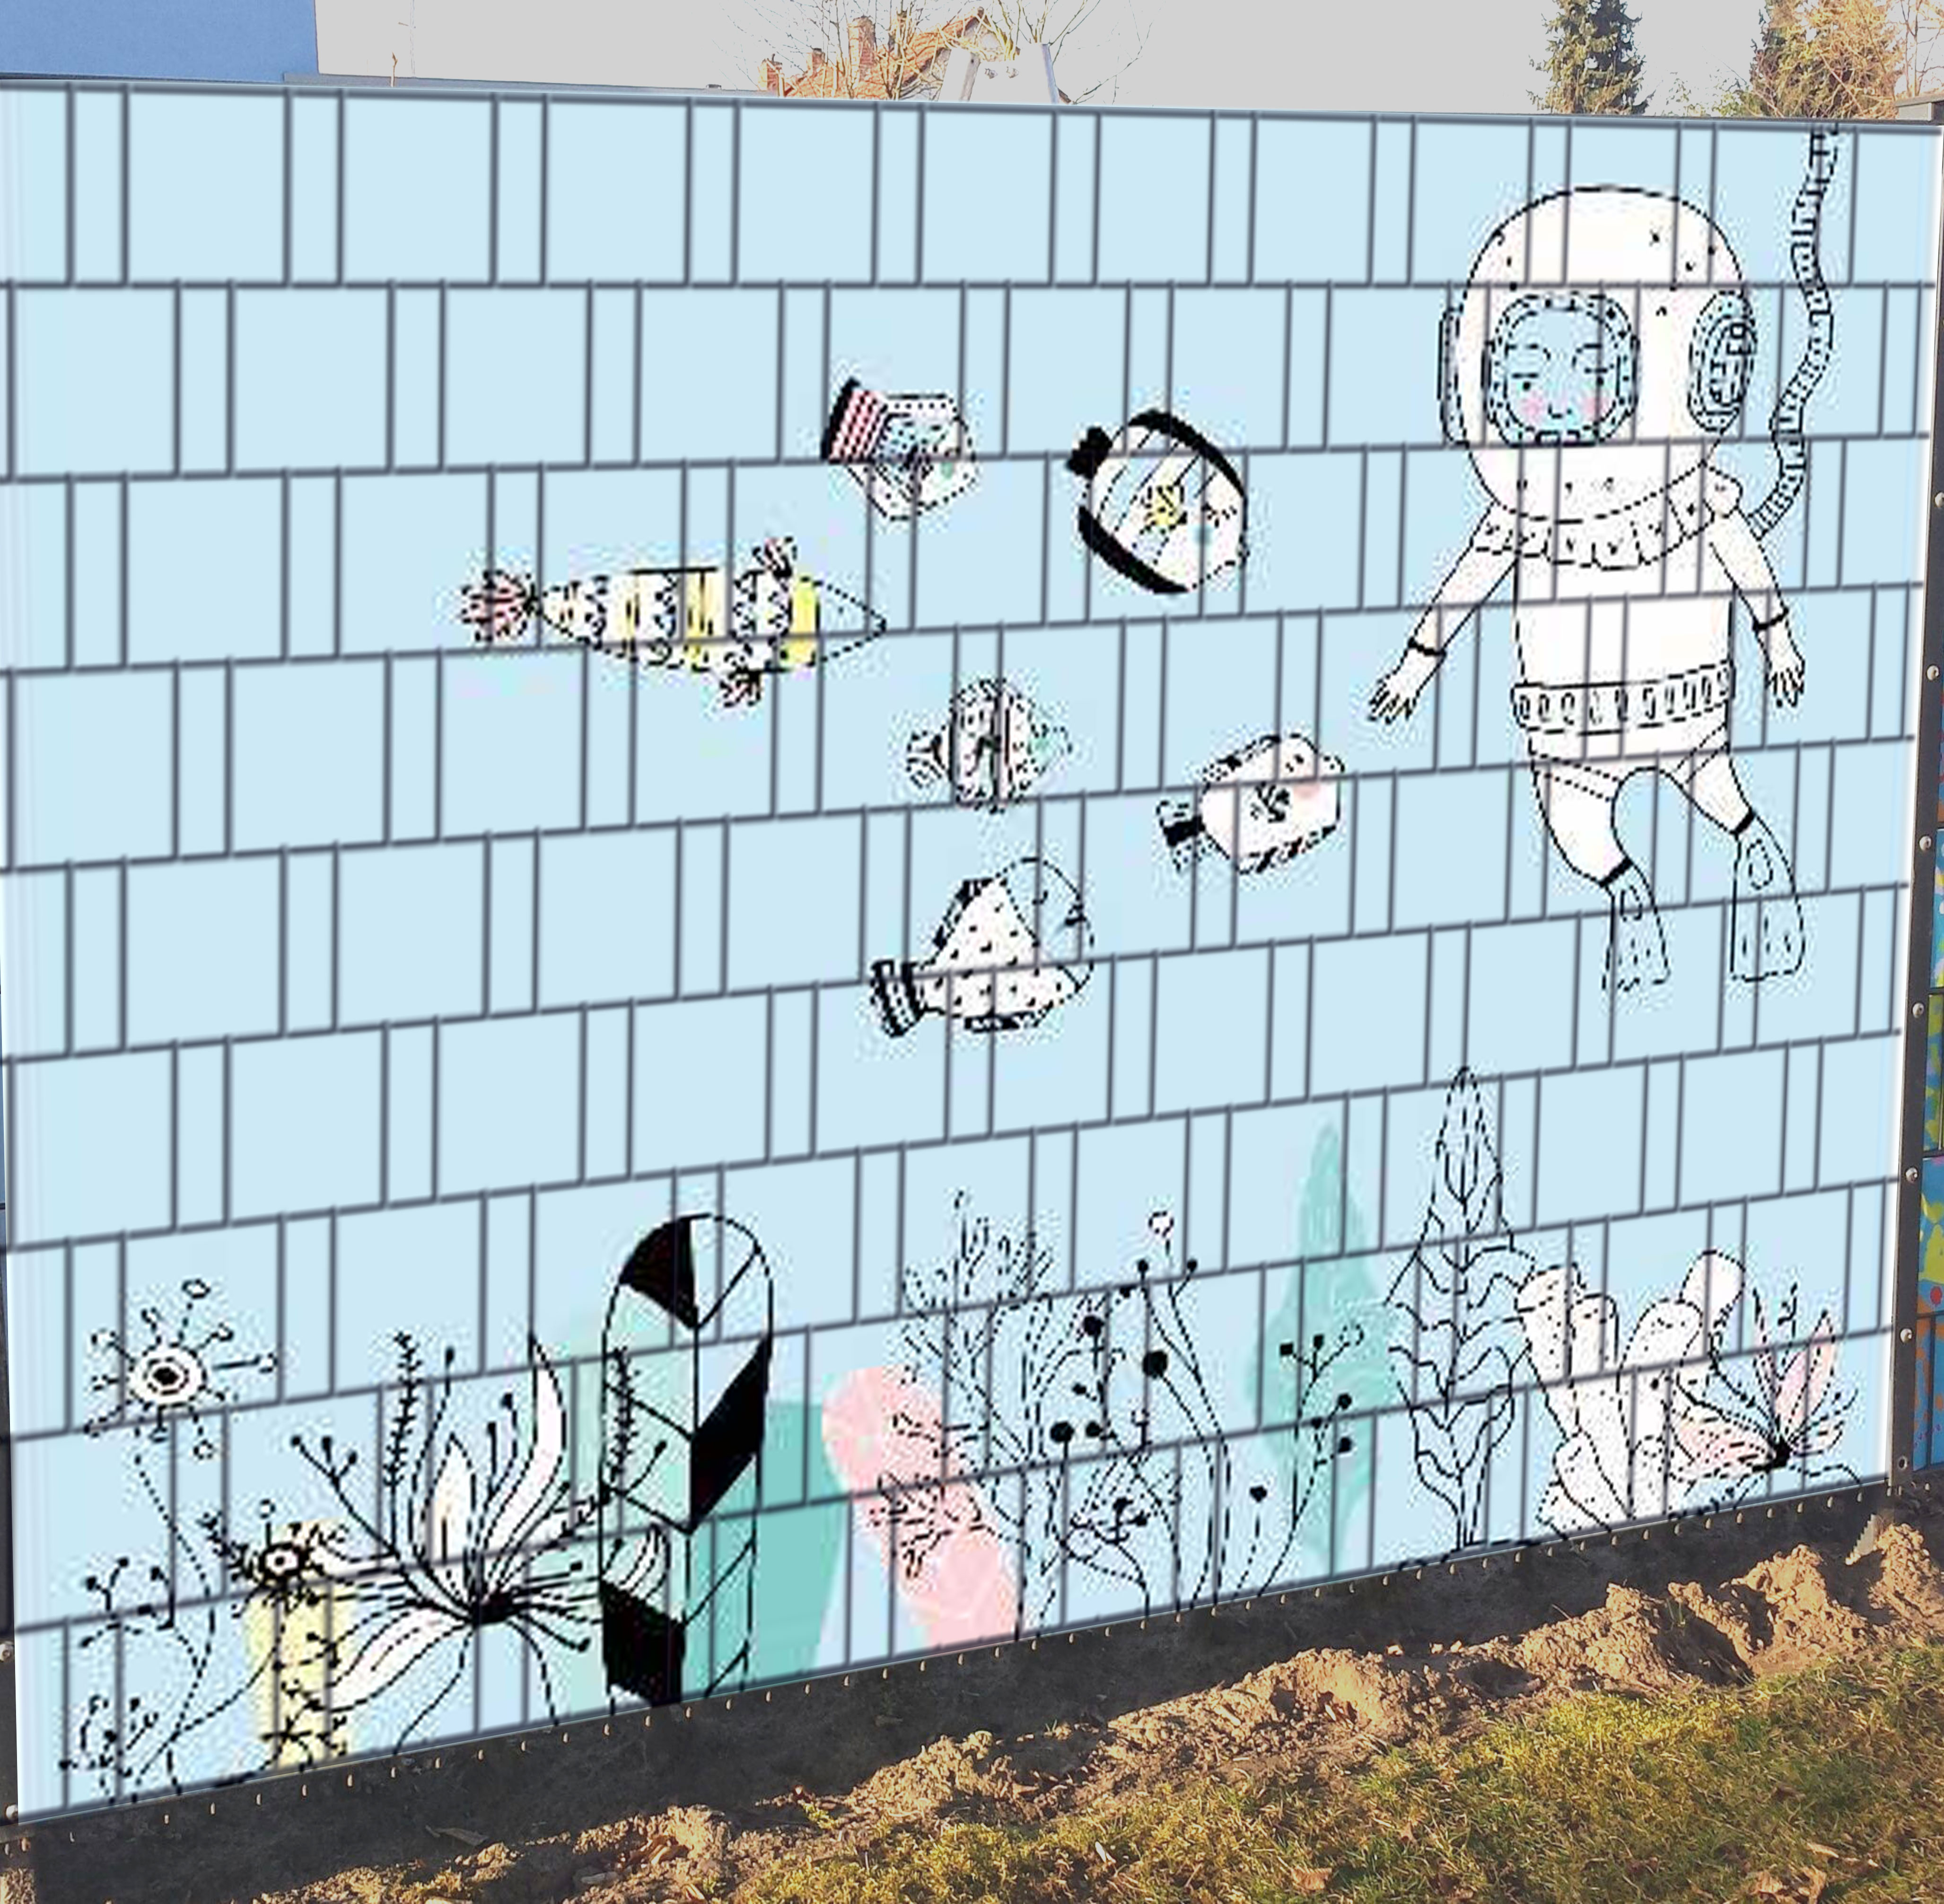
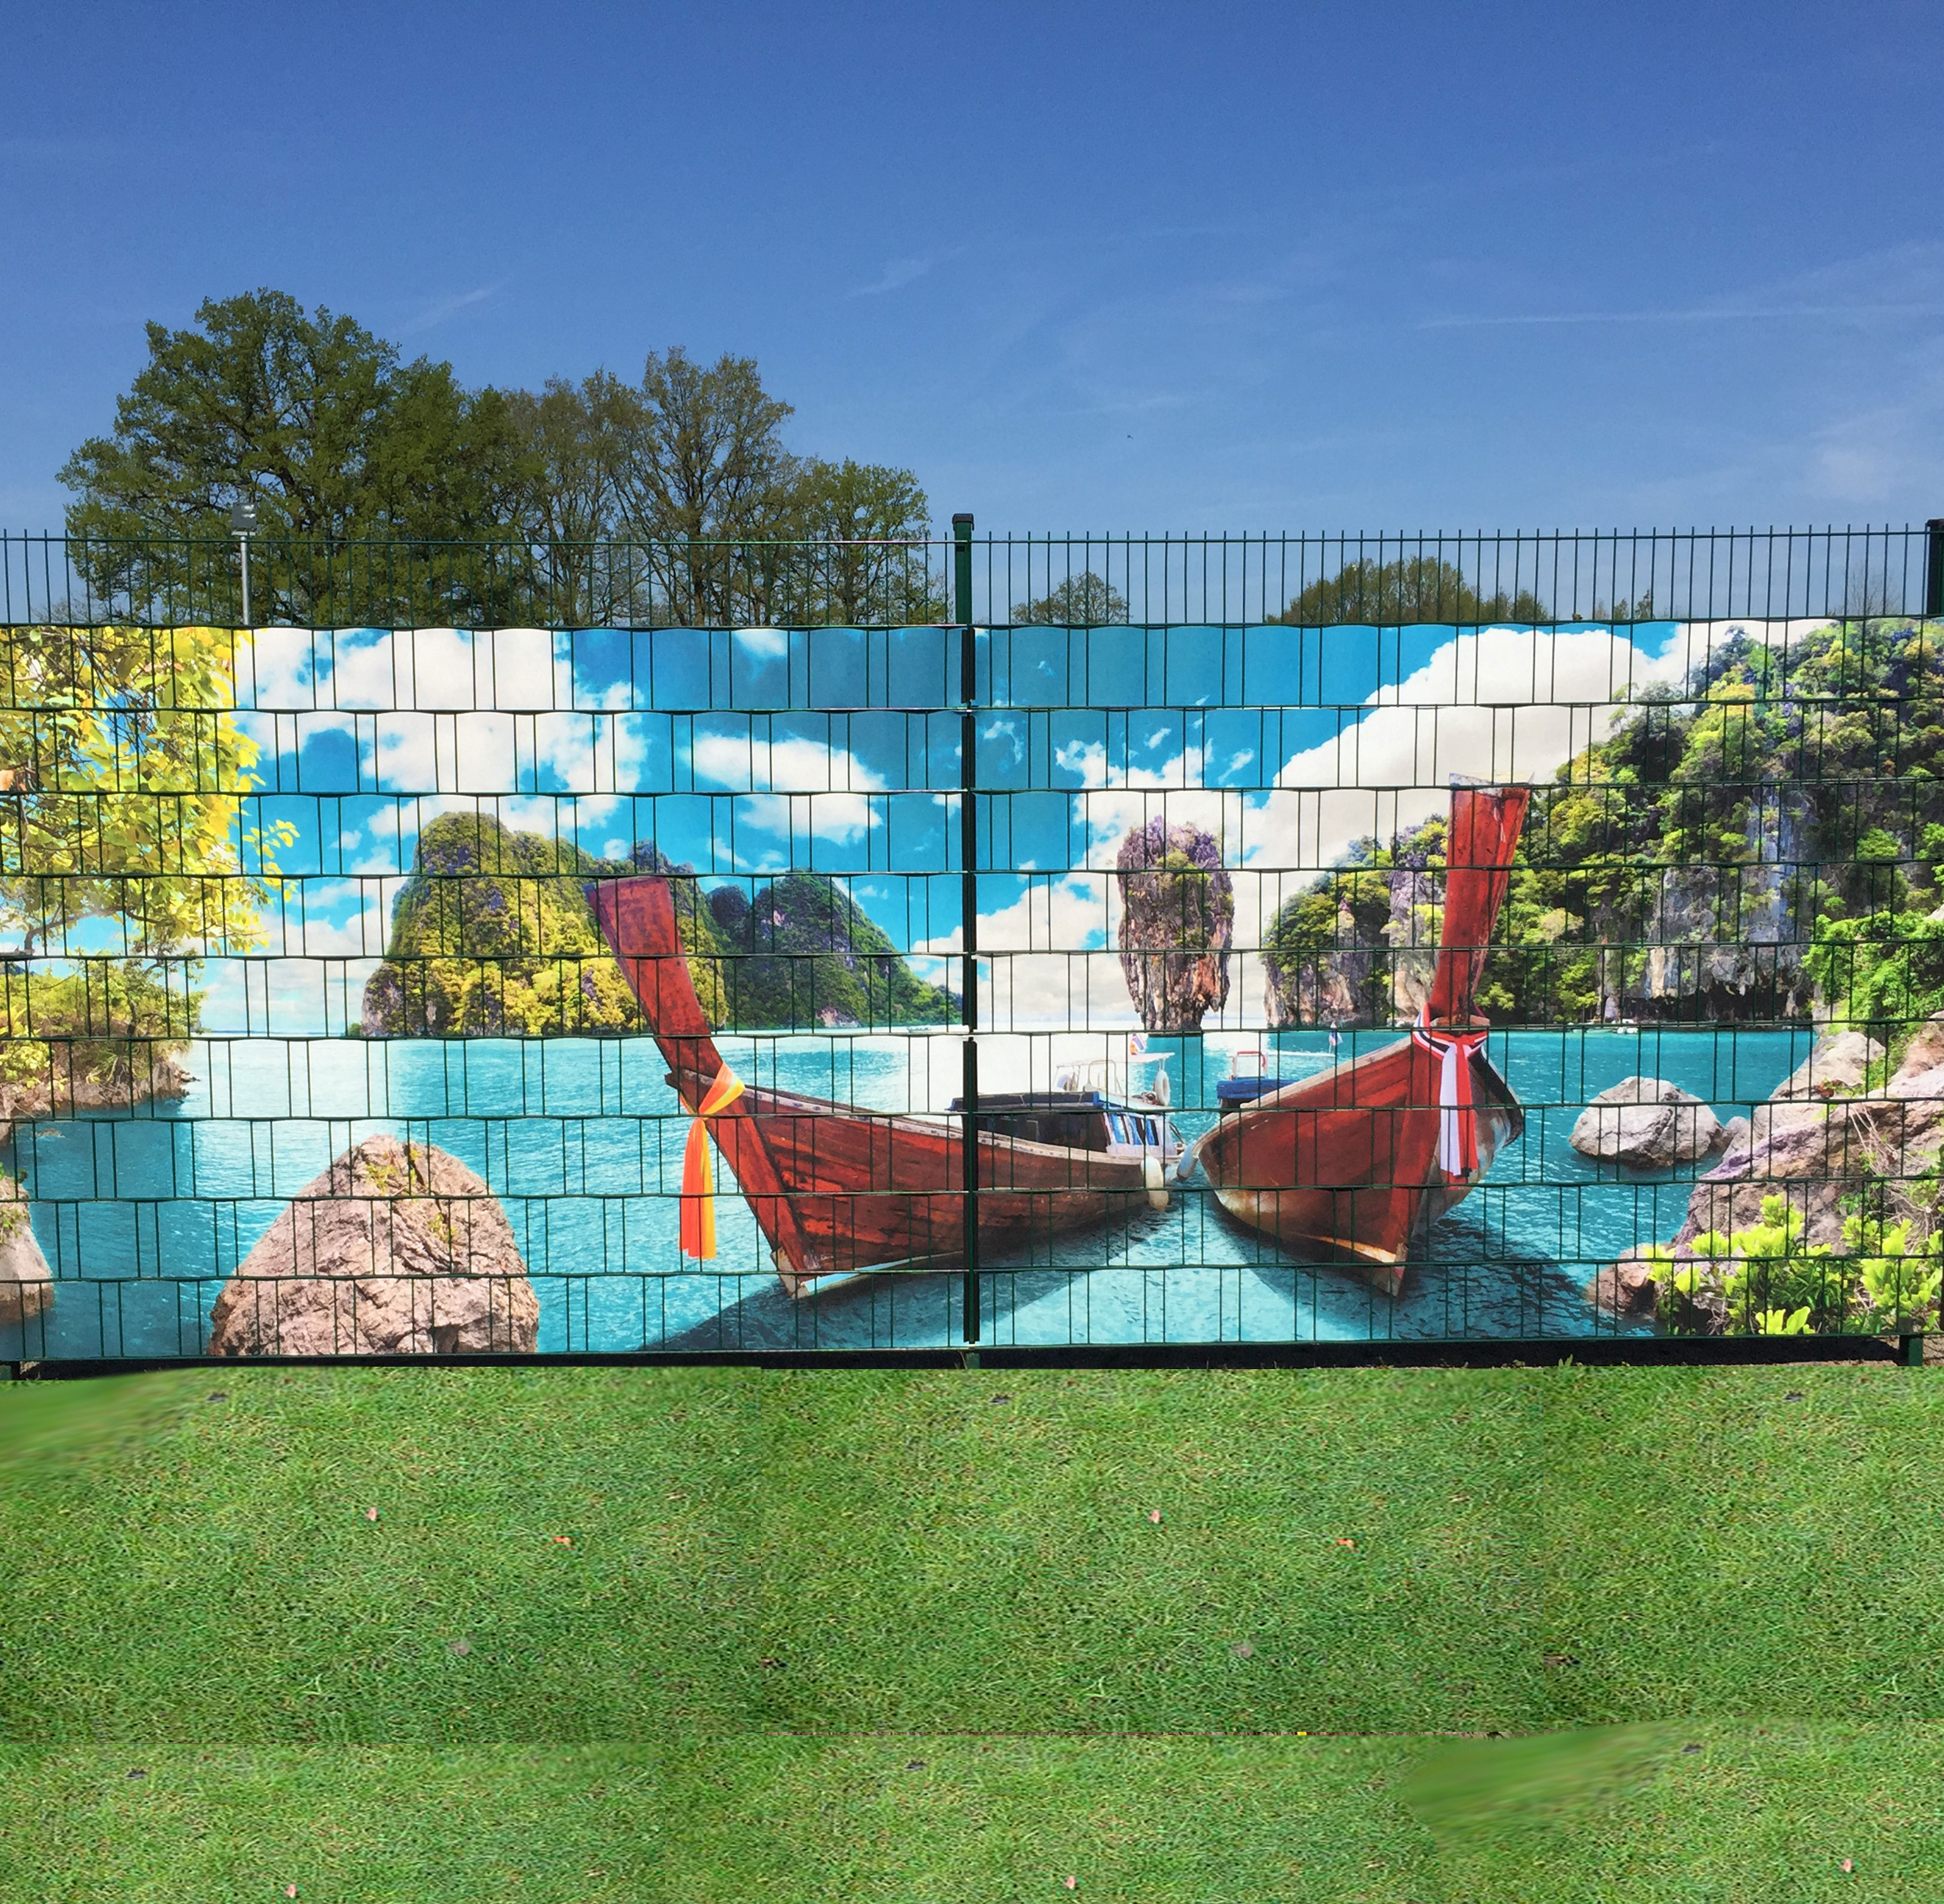
A twin wire mesh fence is ideal for gardens, play areas and property boundaries. It is durable, stable and customisable, for example with woven privacy strips or printed fence screens.
2. Planning & preparation
Measure the property and mark the fence line with builder's string
Calculate the fence panels, posts and privacy screening needed
Plan a gate position if required
3. Choosing posts & fixings
Choose round or square fence posts
Options include setting in concrete or bolting down
Use support brackets, clamping tabs or flat bars for fixing
4. Installing privacy screening
Thread rolls of screening through the fence bars
Alternatively, weave strips to create patterns
Check the height: standard 19 cm with 20 cm bar spacing
5. Cost factors
Fence length and height
Material quality: steel, galvanised, powder-coated
Privacy elements and additional parts: posts, gate, foundation

Comments (0)